Behind the Code: On The Move!

Devin Kelly-Sneed has been at Double Fine since 2016 and he's one hell of a programmer. Some of you might remember his Amnesia Fortnight project from 2017, Darwin's Dinner. For Psychonauts 2, Devin acted as the Player Movement and Powers Feature Lead, helping to make sure that Raz leapt with acrobatic grace and blasted bad thoughts with flashy flair. He's kindly written outlines on the implementation of a few features. Today, we're gonna have him guide us through the design of Raz's different motion options.
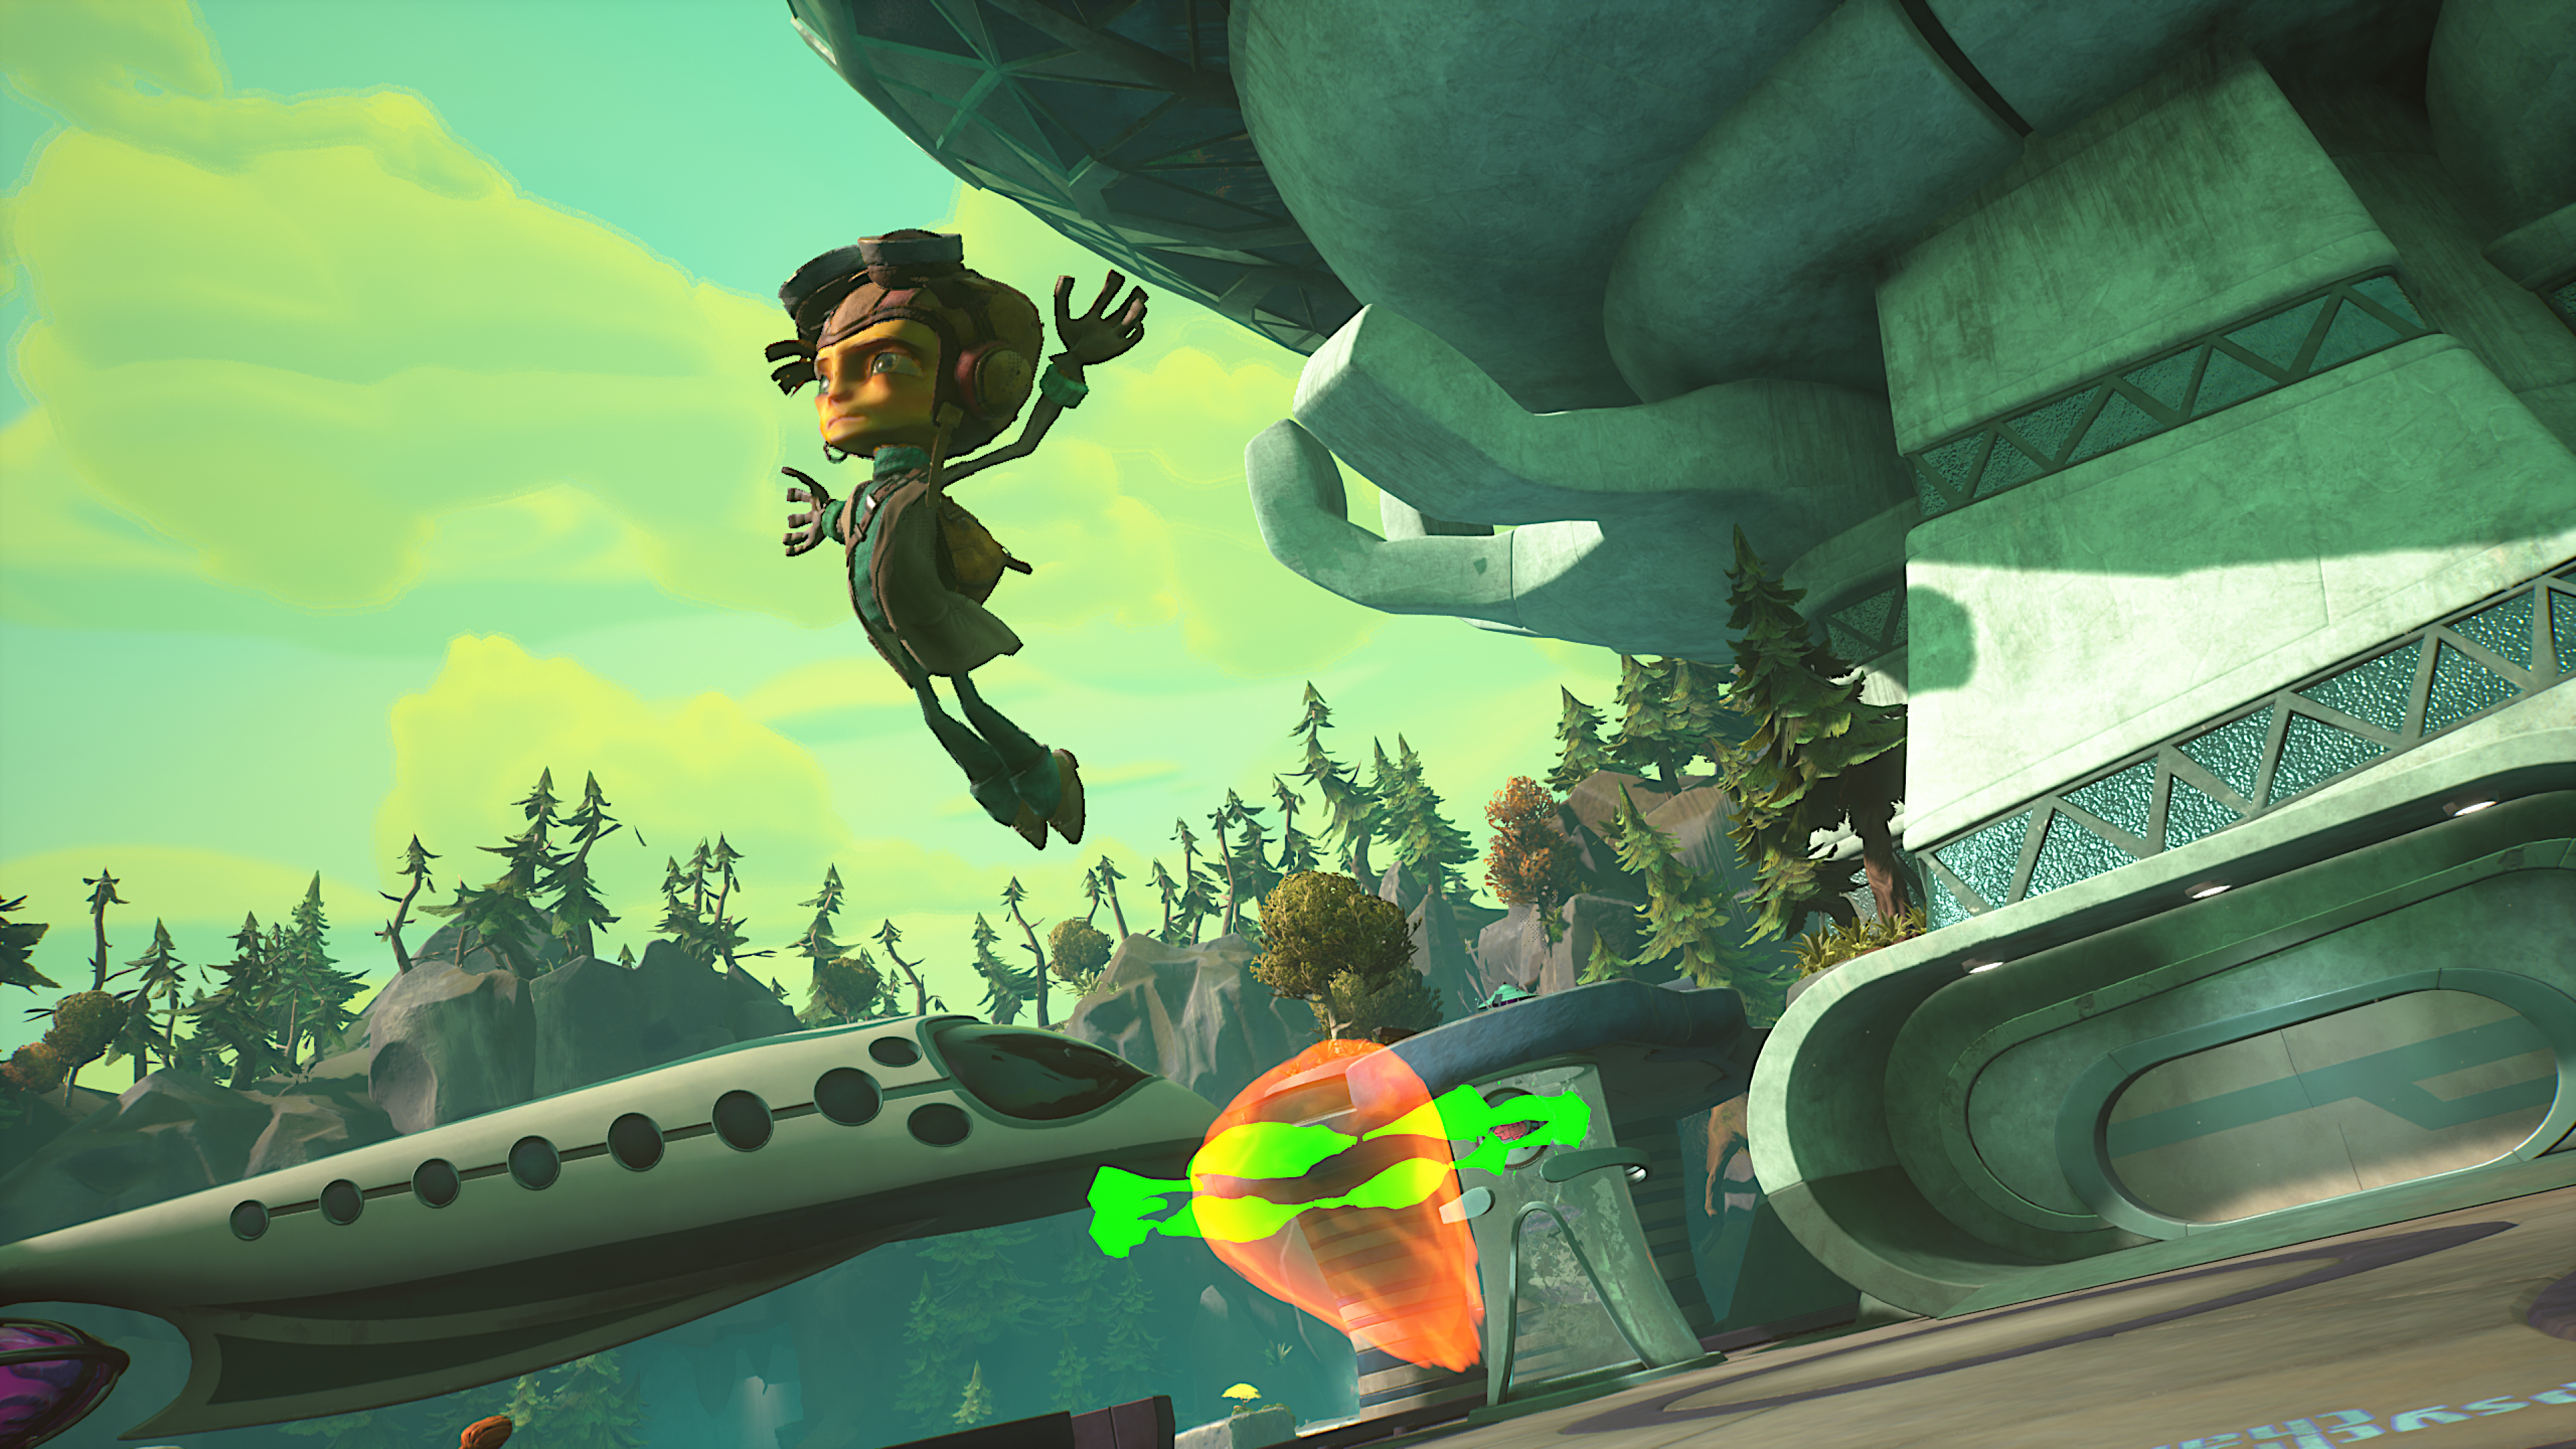
Raz is an acrobat. He runs, jumps, climbs, rolls, swings, and slides through the world. Each type of motion Raz uses was implemented as a Move Mode. In this article we’ll cover how the move mode system worked and go over a few specific modes to get a sense of how they are implemented.
Unreal CharacterMovementComponent
Our starting point was the Unreal Character Movement Component, which handles a lot of basic movement logic like running and falling. It has a concept of Movement Modes which define the different types of motion update to run (MOVE_Walking, MOVE_Falling, MOVE_Swimming, etc.). As an example, when the current Movement Mode is set to MOVE_Falling, the PhysFalling movement logic will run when the component ticks. It applies gravity and causes the character to accelerate downward. The walking mode handles how the character should slide across the ground based on the player’s input.
UCharacterMovementComponent also provides the concept of the mode MOVE_Custom which is intended for authoring new types of movement. When setting the current mode to MOVE_Custom you can provide an integer to specify which of your custom modes you want. Then you can override the PhysCustom function (or use the UpdateCustomMovement blueprint event on the Character) to define your own movement logic.
An interesting side note for folks who haven’t made 3D games before: Characters in Unreal are represented as a capsule for the purposes of movement and collision. A capsule is a cylinder with a hemisphere at each end. The character mesh that you see animating doesn’t collide with the world and plays no part in the movement logic in most circumstances. When working on any kind of movement logic we often enabled a debug view that draws the capsule, transform, and a trail showing a couple seconds of transform history. This lets us easily see the collision shape’s path through the world.

P2 Move Mode System
We realized early on that Raz needed a lot of custom movement logic. And we quickly found custom mode logic was making our P2CharacterMovementComponent (child class of Unreal’s UCharacterMovementComponent) a bit of a mess. Our solution was to implement modes like a state machine. The base class P2MoveMode is a UObject that has overridable functions for EnterMode, ExitMode, Tick, PhysUpdate (and a ton of other things). This allowed us to keep the logic for each mode in its own class.
P2CharacterMovementComponent overrides UCharacterMovementComponent’s SetMovementMode function to handle the state transitions (i.e. calling ExitMode and EnterMode appropriately). There was actually a fair amount of complexity in ensuring this worked smoothly due to edge cases where setting the movement mode actually caused another SetMovementMode call. We tracked pending move mode changes to be able to catch and handle reentrant calls to the function. Our movement component also forwards relevant function calls to the current mode (Tick, OnLanded, JumpPressed, etc).
We added the EP2MovementMode enum which mirrors the entries of Unreal's EMovementMode enum, and then extends to add all of our modes. This meant that almost all of our code didn’t need to think about PHYS_Custom or the appropriate custom index. We’d call SetP2MovementMode with a parameter like P2MOVE_SlopeSlide and behind the scenes we converted that to PHYS_Custom with the appropriate custom index and called SetMovementMode().
Each mode had a settings object derived from P2MoveSettings. The base class had a large number of options that work on any mode. Most modes created their own settings subclass to add mode-specific options. We ended up with about 30 different movement modes for Raz.

Here you can see the base settings available for any move mode to use.

Example: Slope Slide
The Slope Slide move mode is used when Raz is on a steep slope. Once on the slope, Raz will automatically slide downward. The player has some speed control and can steer left and right.
The basic movement logic is this:
- Determine the slope direction and angle
- Calculate the passive acceleration along the slope due to gravity
- Read input to determine acceleration due to player control
- Combine the acceleration sources and update character velocity
- Project the velocity onto the local plane of the slope
- Update the player capsule location based on velocity
- Handle any collisions that occurred when moving the capsule
- Make sure we’re still on a slope - switch to Ground or Falling mode if not
Enabling Debug Draw for the mode allows us to see some of the vectors involved in the movement calculation such as slope direction and acceleration

Initially we determined slope direction simply by comparing the normal of the slope collision to the local gravity direction. There were two major issues that led us to a new approach. First was that collision is sometimes a bit messy and inconsistent which meant that the calculated direction and acceleration could be jittery. Second was that we wanted to be able to have ramps that slope upward during a slide. We didn’t want the ramp to cause Raz to suddenly slow down and go the opposite direction of the overall slope. To solve this we allow the downward direction of a slope to be determined by either a spline or arrow component on the actor. This smoothed out jitters and allowed designers to determine the natural sliding direction even if the actual slope didn’t match.
We experimented with entering Slope Slide move mode any time you ended up on ground steeper than a specific angle. But that proved to be unreliable, creating sliding in areas we didn’t want, and not having a slide in some areas we did. In the shipping version, any Actor that Raz should Slope Slide on has the COMP_SlidableSlope component added to it. We check the current ground Actor for the component and enter Slope Slide mode if we find it.
Here are the Slope Slide mode-specific settings. These appear in the settings asset alongside all the base class settings shown above.

Example: Ledge Hang
Ledge Hang was one of several spline-based move modes (others were Rail Slide, Vertical Pole, Ladder, Horizontal Pole, and Tightrope). The common feature of these modes is that Raz’s movement is constrained along a (potentially) curvy line called a spline. While hanging from a ledge Raz is able to move side to side, hop up to the ground above, or jump backwards away from the wall.
Player input moves Raz left and right along the ledge spline. We wrote a function called PhysSpline that all spline-based modes used to handle the logic of keeping the character at the correct offset and orientation while moving along a spline.
To handle sharp corners we had a function called SplinePrimitiveLookAhead that we used to detect the spline point and tangent in the direction we move. If it detected that we were approaching an angle change over 45 degrees we temporarily stopped running the PhysSpline update. Instead we picked a target location around the corner and interpolated the character to the new location while playing a transition animation. The interpolated corner movement is based on a cubic hermite spline. We tuned the shape of this motion by specifying a location, orientation, and velocity for both the start and end.
We had two sets of animations for the ledge hang mode and selected between them based on if there was a wall below. Raz either braces his feet against the wall or dangles accordingly.
For the most part we determined which animation was appropriate by doing a line trace forward to check for a wall. Though in some cases we’d detect a wall due to invisible collision placed nearby. For these cases, designers could set an override on the ledge.

Example: BigBall
The BigBall move mode was developed for the Strike City level where Raz rides around on a large bowling ball. It was also used in a couple of the later levels. Our first attempt at the BigBall mode was to use the Levitation Ball movement we’d already developed. We made it bigger and tuned it to feel heavier. But it couldn’t handle some of the level geometry we were hoping to have (e.g. half pipes) and never felt quite right.
After experimenting a bit we settled on using the physics simulation for moving the ball. This meant that the BigBall move mode doesn’t actually use normal character movement logic at all. Instead we apply forces to the ball actor and snap Raz’s location to the top of the ball.
Control forces were tuned using a bunch of curves. Curves are very useful when a single value doesn’t feel right in different circumstances. A good example is the Accel Scale by Speed in Accel Direction Curve. We give stronger acceleration when your input is fighting against your current velocity. This lets you slow down to a stop more quickly than you could accelerate back to the original speed. We also ramp out the acceleration at high speeds to create a soft speed cap.

Because we used the physics sim instead of character movement, we lacked some of the normal things that the character movement system knows about. For example, “are we on the ground?” was a bit of a tricky question to answer. And an important question too! We needed to tune acceleration and other movement behavior differently when you were airborne, not to mention that an action like Jump should only work when on the ground. Character movement slides reliably along the ground collision and keeps track of information about the current floor. Physics movement tends to be a bit messy and unpredictable, and there’s no built-in concept of “current floor” for a physics object. We ended up tracking hit events from the collision system and checking what part of the ball was hit. Hits low enough down on the ball were considered valid ground and would transition from the BigBallFalling mode into the BigBall mode. Similarly if we hadn’t detected the floor in the last frame we switched back to BigBallFalling.
One unplanned benefit of our switch to using physics was that when we decided to have Raz ride a giant egg later in the game we were able to (mostly) just swap out the collision shape of the ball actor. All of the desired awkward wobbly movement came naturally without the need to write a lot of custom logic. The main piece of logic that needed improvement was the logic for positioning Raz on top of the ball. Originally it worked off of a tunable radius in the settings. But the egg radius depends on orientation. We ended up doing a raycast against the egg mesh to find its surface directly above the center and aligned Raz’s character mesh to that surface location
Which Way is Up?
The Slope Slide section above mentions that we used the “local gravity” to calculate acceleration. One distinctive feature of Psychonauts 2 is that gravity isn’t always the same direction. This allowed for mind bending level design, but also complicated a lot of our gameplay code.
Common assumptions that the Z axis is vertical are incorrect, so all of our movement code had to be careful. We also had to remove those assumptions from Unreal’s code in many cases. For example, code that checked the Z component of velocity to determine if the character was moving up or down had to be rewritten to check the dot product of Velocity and GravityDirection.
Getting the horizontal portion of Velocity needed to project the velocity onto the plane defined by the gravity direction.
Every single move mode had to carefully consider what the current gravity direction is. And in many cases had to take into account that gravity might be completely different at the end point of its motion.
Debug Info
There was a lot of information that was helpful to be able to examine for understanding the current movement state. We created a new category for the Gameplay Debugger system that showed the most important movement state properties.

We had a Raz page in our debug menu with a bunch of toggles and functionality. This let us turn on various debug draw features, log information about the current state, and disable certain features.

Post-Psychonauts 2
We used the Move Mode system so much that after shipping we spent time building a DFMoveMode system to share across future projects. We borrowed the core approach and some of the code from Psychonauts 2, but left out a lot of game-specific logic that other games are less likely to need.
Wrap Up
Because of Raz’s many unique types of movement, it was valuable to build a system to compartmentalize each mode. This system proved quite successful and made it easy to add new modes as needed. In all we built about 30 move modes for Raz to handle the many acrobatic movement styles the design called for. Thanks for reading, we hope this behind the scenes look at our approach to character movement was enjoyable and informative!